
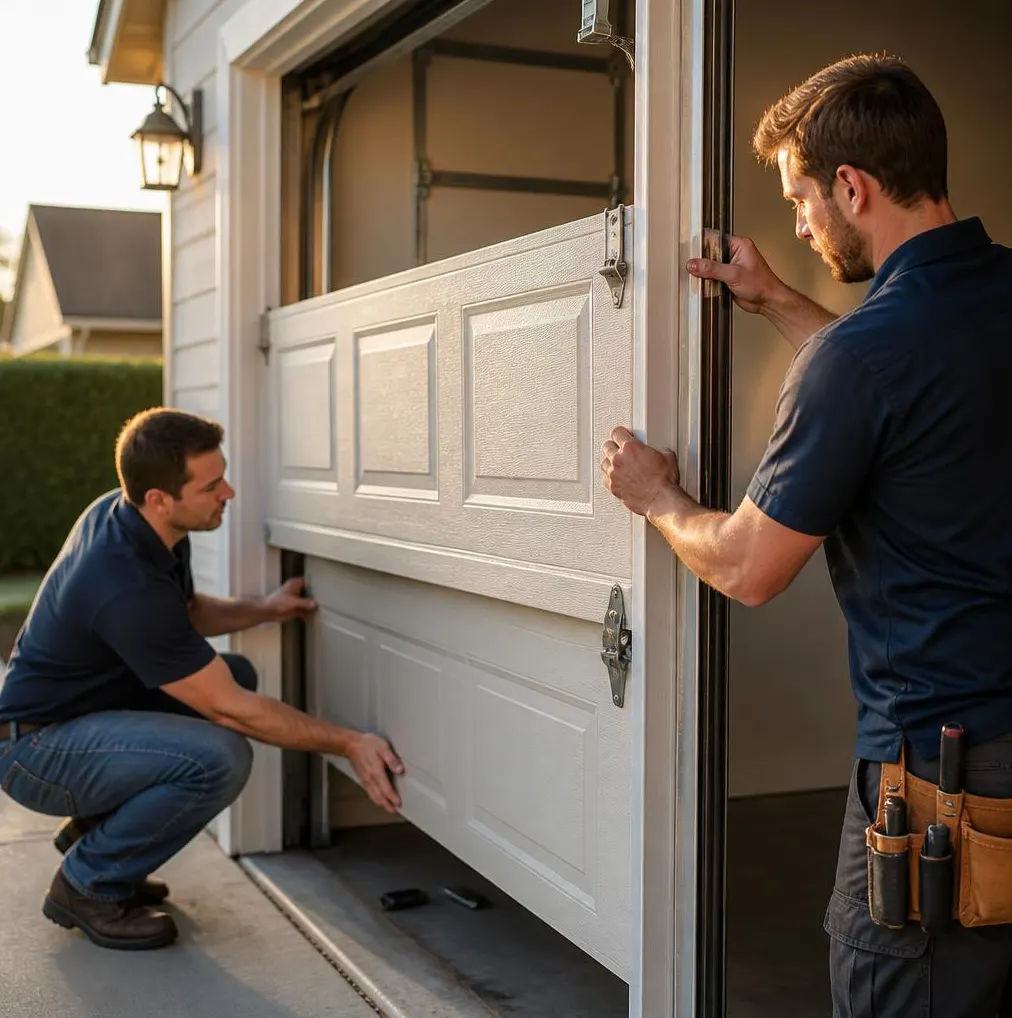
The One-Sentence Rule
If you can see daylight under your closed garage door, the bottom seal has already failed and needs replacing — that's the rule of thumb. The exceptions: a sagging seal that looks fine but still lets in a draft usually means the door itself is out of level, not the rubber; and a seal that fails again within a season or two often points to worn rollers or a bent track pulling the door off its seat. Those are technician problems, not seal problems, and no amount of new weatherstripping will fix them.
This matters more right now than it did in August. After a dry season of dust and the occasional smoky afternoon, Marin County's winter rain is on its way, and a gapped bottom seal is an open invitation for water to pool under the door, for spiders and rodents looking for a dry spot to squeeze through, and for cold air to creep into a garage that doubles as a workshop or laundry room.
Tools You'll Need
- Replacement bottom seal (T-style, bulb-style, or bead-style — match your existing track profile)
- Garage door weatherstripping kit for the sides and top (vinyl or rubber J-strip)
- Utility knife
- Tape measure
- Flathead screwdriver
- Work gloves
- A flashlight or a dollar bill for the gap test
- A stepladder, if your door has a service door or high side seals
Step-by-Step: Replacing the Bottom Seal
- Inspect the current seal with the door closed. Run your hand along the bottom edge from inside the garage. Flattened, cracked, or brittle rubber, or any spot where you can slide a finger underneath, means it's done.
- Measure the width of your door and note the retainer style on the bottom edge — most residential doors use either a T-slot groove or a bead-retainer channel. Buy a seal that matches; they are not interchangeable.
- Open the door fully and secure it so it can't come down while you work.
- Pull the old seal out of the track. It usually slides free by hand or with gentle help from a flathead screwdriver at one end. Expect some resistance from dried-on grime or old caulk.
- Clean the channel with a dry rag, clearing out dirt, dead insects, and bits of old rubber. A season of dust and ash buildup tends to collect right here.
- Cut the new seal to length, leaving an inch or two of extra material — you can trim after installation but can't add it back.
- Feed the new seal into the track starting from one end, working it through evenly rather than forcing the middle first.
- Close the door slowly and check contact along the entire width. Light should not show through anywhere, and the seal shouldn't be so compressed that it strains the opener.
- Test with the dollar-bill method: close the door on a dollar bill at several points along the bottom. If it pulls out freely, the seal isn't making contact there.
Step-by-Step: Side and Top Weatherstripping
- Remove the old strip from the door frame, usually held by small nails or adhesive.
- Measure and cut new strips for both side jambs and the header, mitering corners if your kit calls for it.
- Press or nail the new strip into place, starting at the top corner and working down each side so the material stays straight.
- Close the door and check for even contact along the full perimeter, adjusting the strip position before it fully sets if it's adhesive-backed.
What's a Homeowner Job and What Isn't
Replacing a bottom seal or side weatherstripping is reasonable DIY work if your door opens, closes, and sits level in the opening without help. It's a cheap fix — material costs are modest and the job takes well under an hour once you've done it once.
Call a technician instead if any of these are true:
- The door doesn't close flush with the floor even with a new seal installed, which usually means the track or rollers need adjustment.
- One side of the garage floor has settled or is uneven, which calls for a threshold seal and sometimes a track reset — not a simple strip swap.
- The seal keeps tearing or popping out of the track repeatedly, a sign the door is binding somewhere in its travel.
- You need to prop the door open manually for an extended repair — torsion springs under tension are not a DIY safety risk worth taking.
When to Call San Rafael Garage Door
If your seal replacement doesn't close the gap, or you're noticing drafts, water stains, or pest activity that a new bottom seal didn't solve, it's time for a proper look. Our Garage Door Maintenance visits include a full inspection of tracks, rollers, and door balance, so we can tell you whether the fix is weatherstripping or something mechanical underneath it. If the door itself is out of alignment, our Garage Door Repair service handles track and roller adjustments so the seal you install actually does its job through the wet months ahead.
Before the rain sets in for good, give your garage door the once-over. If something's not sealing right, call San Rafael Garage Door — we serve homes and businesses throughout San Rafael, CA and the surrounding Marin County communities.